

The result of Painting with Wool technique application is impressively unique - each crafter creates his/her own artwork dissimilar to the others.
Painting with Wool is a special technique of wool painting which allows creating a "warm" three-dimensional pictures similar to watercolor paintings.
The key feature of Painting with Wool is adding wool layer by layer. Thin uniform pieces are added layer by layer, forming a lovely painting with "watercolor splotches". First the background is made layer by layer, then a painting is composed thereover (also in layers). Small details finish off the composition.
The completed artwork in Painting with Wool technique shall be framed and glazed, as the wool is not attached to the base anyhow.
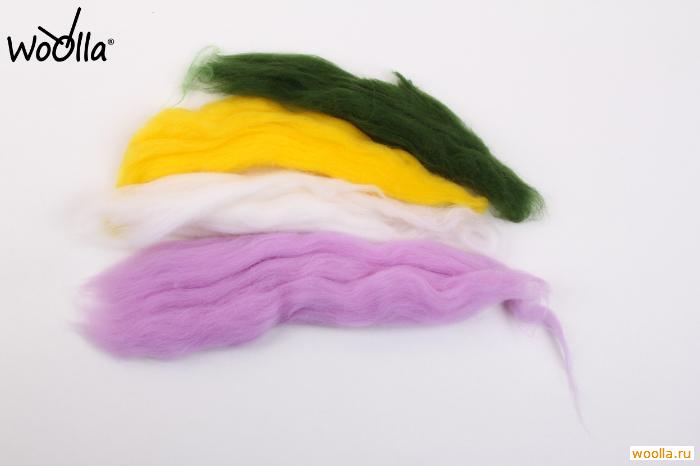
100% natural high-quality top wool, very fine and fluffy, is used in the kit (see pic. 1). It is perfect for Painting with Wool technique, as it allows creating the said watercolor splotches effect.
Important:
- Keep your hands dry and clean when working, as the wool fibers stick together and change in shape, as well as collect small particles of dirt and dust due to the moisture.
- Work indoors away from direct air flow, as the wool is lightweight and can be moved from the picture easily.
- When forming the details make them a bit smaller than the actual size, as after glazing the glass will press on the picture and flatten out the details.
- Use the plastic stencil to preserve the composition. Place it on the picture after each stage to check the position of elements.
- Place and press the plastic stencil after finishing each layer to see the final version of the picture. Place a heavy object (e.g. a book) on the packing and leave the picture for some time to flatten the wool.
- The more layers of wool you use, the more bright and rich the colors will be.
- For lovely color gradients use fine, loose and translucent pieces of wool and place them in multiple layers.
-
When making the background, the wool shall go beyond the edges of the base (see pic. 2)
 pic.2
pic.2 - Do not wash or iron the picture!
Storage and framing.
- For storage press the stencil against the picture and place it into packing.
- Frame and glaze the picture when the work is complete. When glazing the picture be careful not to displace or deform the picture.
Caution! Don't keep the picture in premises with increased humidity! It makes the wool change in shape.
